

Getting clean paint lines is one of those tasks that looks easy—until you actually try it. Anyone who has spent time carefully pressing masking tape along a ceiling edge or window frame knows how frustrating it can be. Even a slight misalignment can lead to uneven paint lines, extra touch-ups, or paint bleed.
The Masking Master tool is designed to address that exact problem. Instead of manually applying tape and hoping for the best, it offers a guided system that aims to make the process faster, more consistent, and less error-prone.
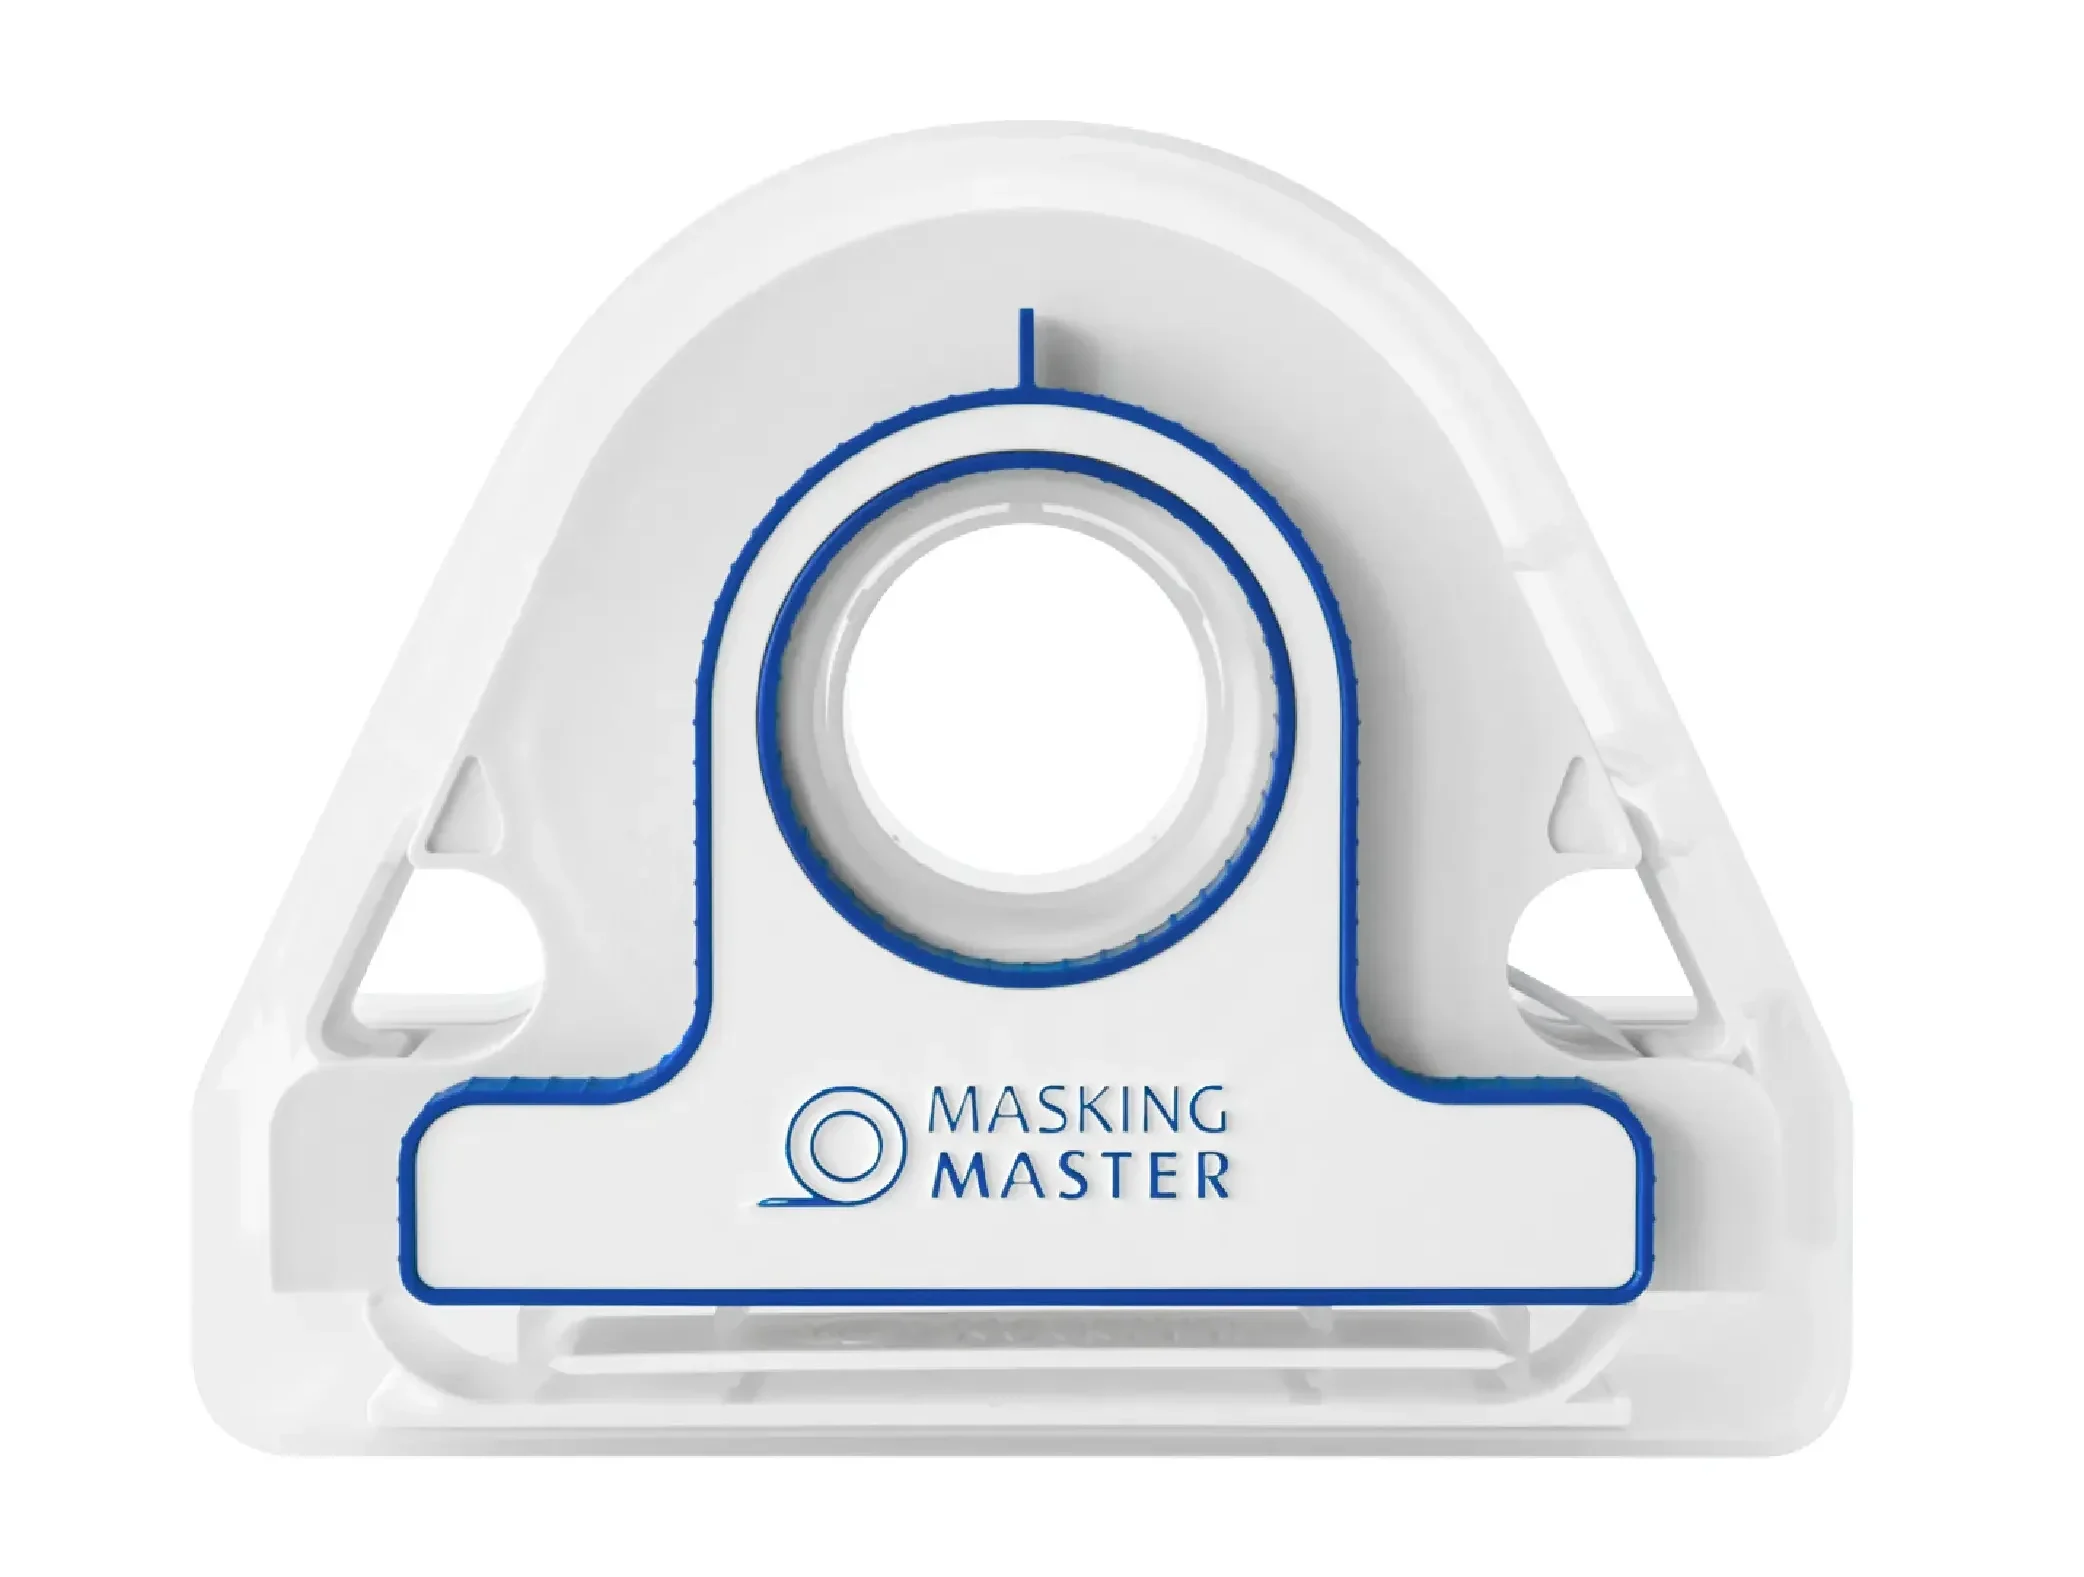
What the Masking Master tool does
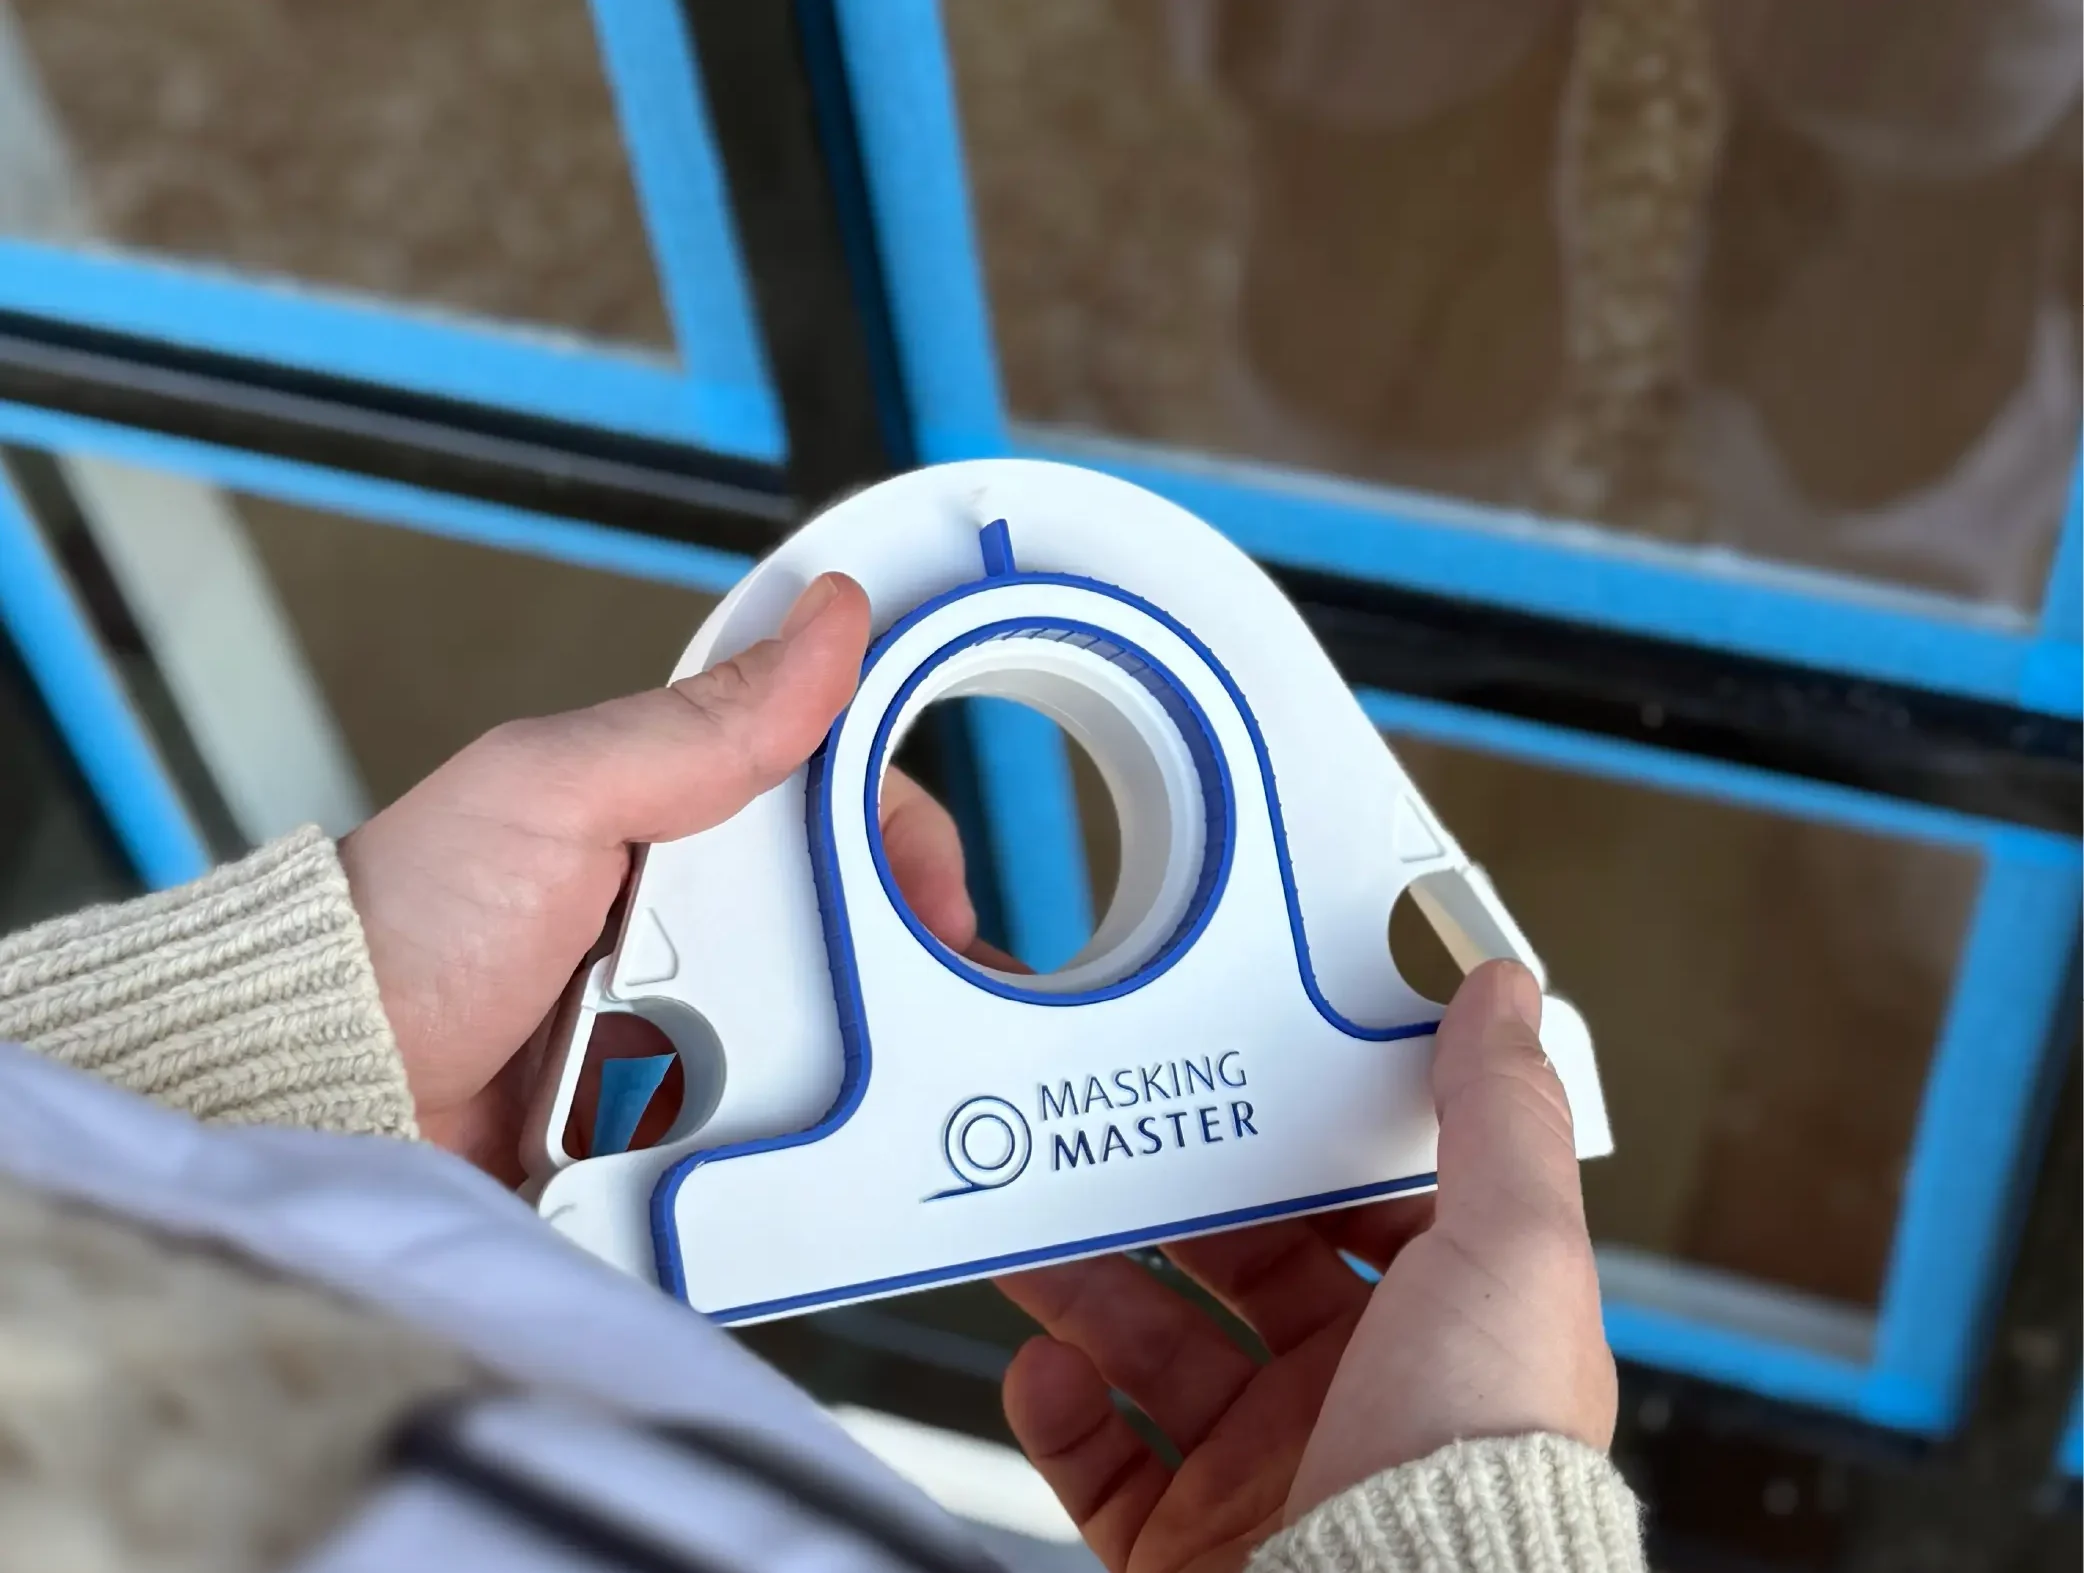
At its core, the Masking Master tool is a handheld device that applies, aligns, and cuts painter’s tape in one continuous motion. You load a standard roll of masking tape into the tool, place it along an edge, and glide it forward. As it moves, it lays down tape in a straight, controlled line.
Unlike traditional taping—where you constantly adjust and press with your fingers—this tool maintains alignment automatically. It also includes a built-in cutting mechanism, so there’s no need to stop and reach for scissors.
The idea is simple: reduce the number of steps involved and remove as much guesswork as possible.
How it maintains precision
One of the more interesting aspects of the Masking Master tool is its spacing system. It allows users to position tape at fixed distances from the edge—typically around 1 mm (default), 3 mm, or 5 mm, depending on the attachment used.
This isn’t just about neatness. That slight offset can actually improve paint results in practical ways. For example, when painting along glass or trim, a small overlap helps seal the edge more effectively and reduces the chances of paint bleeding underneath.
In other words, the spacing feature isn’t just a convenience—it’s tied to better finishing quality.
Speed vs. traditional taping
The company claims the tool can make masking up to five times faster than doing it by hand. While that figure likely depends on the user and the surface, the time-saving aspect is easy to understand.
With manual taping, you typically:
- Pull tape
- Align it carefully
- Press it down
- Adjust mistakes
- Cut it manually
With the Masking Master tool, most of that happens in one motion. Over longer runs—like walls or baseboards—that efficiency can add up quickly.
For professionals working on multiple rooms or tight deadlines, even small time savings per edge can make a noticeable difference.
Where it works best
The tool is designed for a variety of painting and prep tasks, including:
- Wall-to-ceiling edges
- Baseboards and trims
- Window and door frames
- Long straight wall sections
It performs best on clean, straight, and easily accessible surfaces, where the tool can glide smoothly without interruption.
For DIY users, this means less frustration on standard home projects. For professionals, it can help maintain consistency across large areas.
Accessories and setup
Depending on the bundle, the Masking Master tool may come with:
- Spacer attachments (for different offsets)
- Corner or overlap guides
- A spatula for pressing tape edges
- Storage case
The tool is also compatible with standard masking tape rolls, so users don’t need to switch to a proprietary tape system.
Pricing and availability
The Masking Master tool is primarily sold through its official website, with pricing typically listed in Euros.
- Base unit: around €60–€70 range (including VAT in EU markets)
- Replacement blade sets: approximately €8
Availability appears to be direct-to-consumer, meaning most buyers—especially in regions like the U.S.—will need to order online. Shipping costs, taxes, and delivery times may vary depending on location.
It’s also worth noting that while similar-looking tape applicators exist on marketplaces, they may not offer the same build quality or feature set as the official product.
Things to consider before buying
While the concept is straightforward, there are a few practical considerations:
- Learning curve: It may take a few tries to get used to the motion and pressure
- Tape size limits: Works best with standard-width masking tapes
- Tight spaces: Less effective in very narrow or awkward areas
- Cost vs. usage: Might feel expensive for one-time DIY projects
For someone painting a single room once a year, the benefits may be less noticeable. But for frequent use, the value becomes clearer.
Real-world take
What stands out about the Masking Master tool isn’t just the convenience—it’s the consistency. Clean paint lines are usually the result of patience and steady hands. This tool essentially replaces that manual precision with a guided system.
It doesn’t eliminate the need for good painting technique, but it does remove one of the more tedious parts of the process.
For professionals, it’s a productivity tool. For DIY users, it’s more about reducing frustration and improving results without needing perfect technique.
Final thoughts
The Masking Master tool sits somewhere between a simple DIY gadget and a professional-grade accessory. It doesn’t reinvent painting, but it does streamline a step that many people find time-consuming and error-prone.
If you regularly work on painting projects—or just want cleaner edges with less effort—it offers a practical, well-thought-out solution. For occasional users, it may come down to whether the added convenience justifies the price.
Either way, it highlights how even small improvements in tools can make a noticeable difference in everyday tasks.
Source: Masking Master

